It all started when my old WiFi router started acting up. Annoyed yet
intrigued by the issue, I decided to dive into the world of network
hardware and software management to fix the problem. As a programming
student at the time, I had a 2014 HP laptop with a broken keyboard just
sitting around. Instead of seeing it as e-waste, I realized its
potential to be reborn as a network guardian for my home. The first
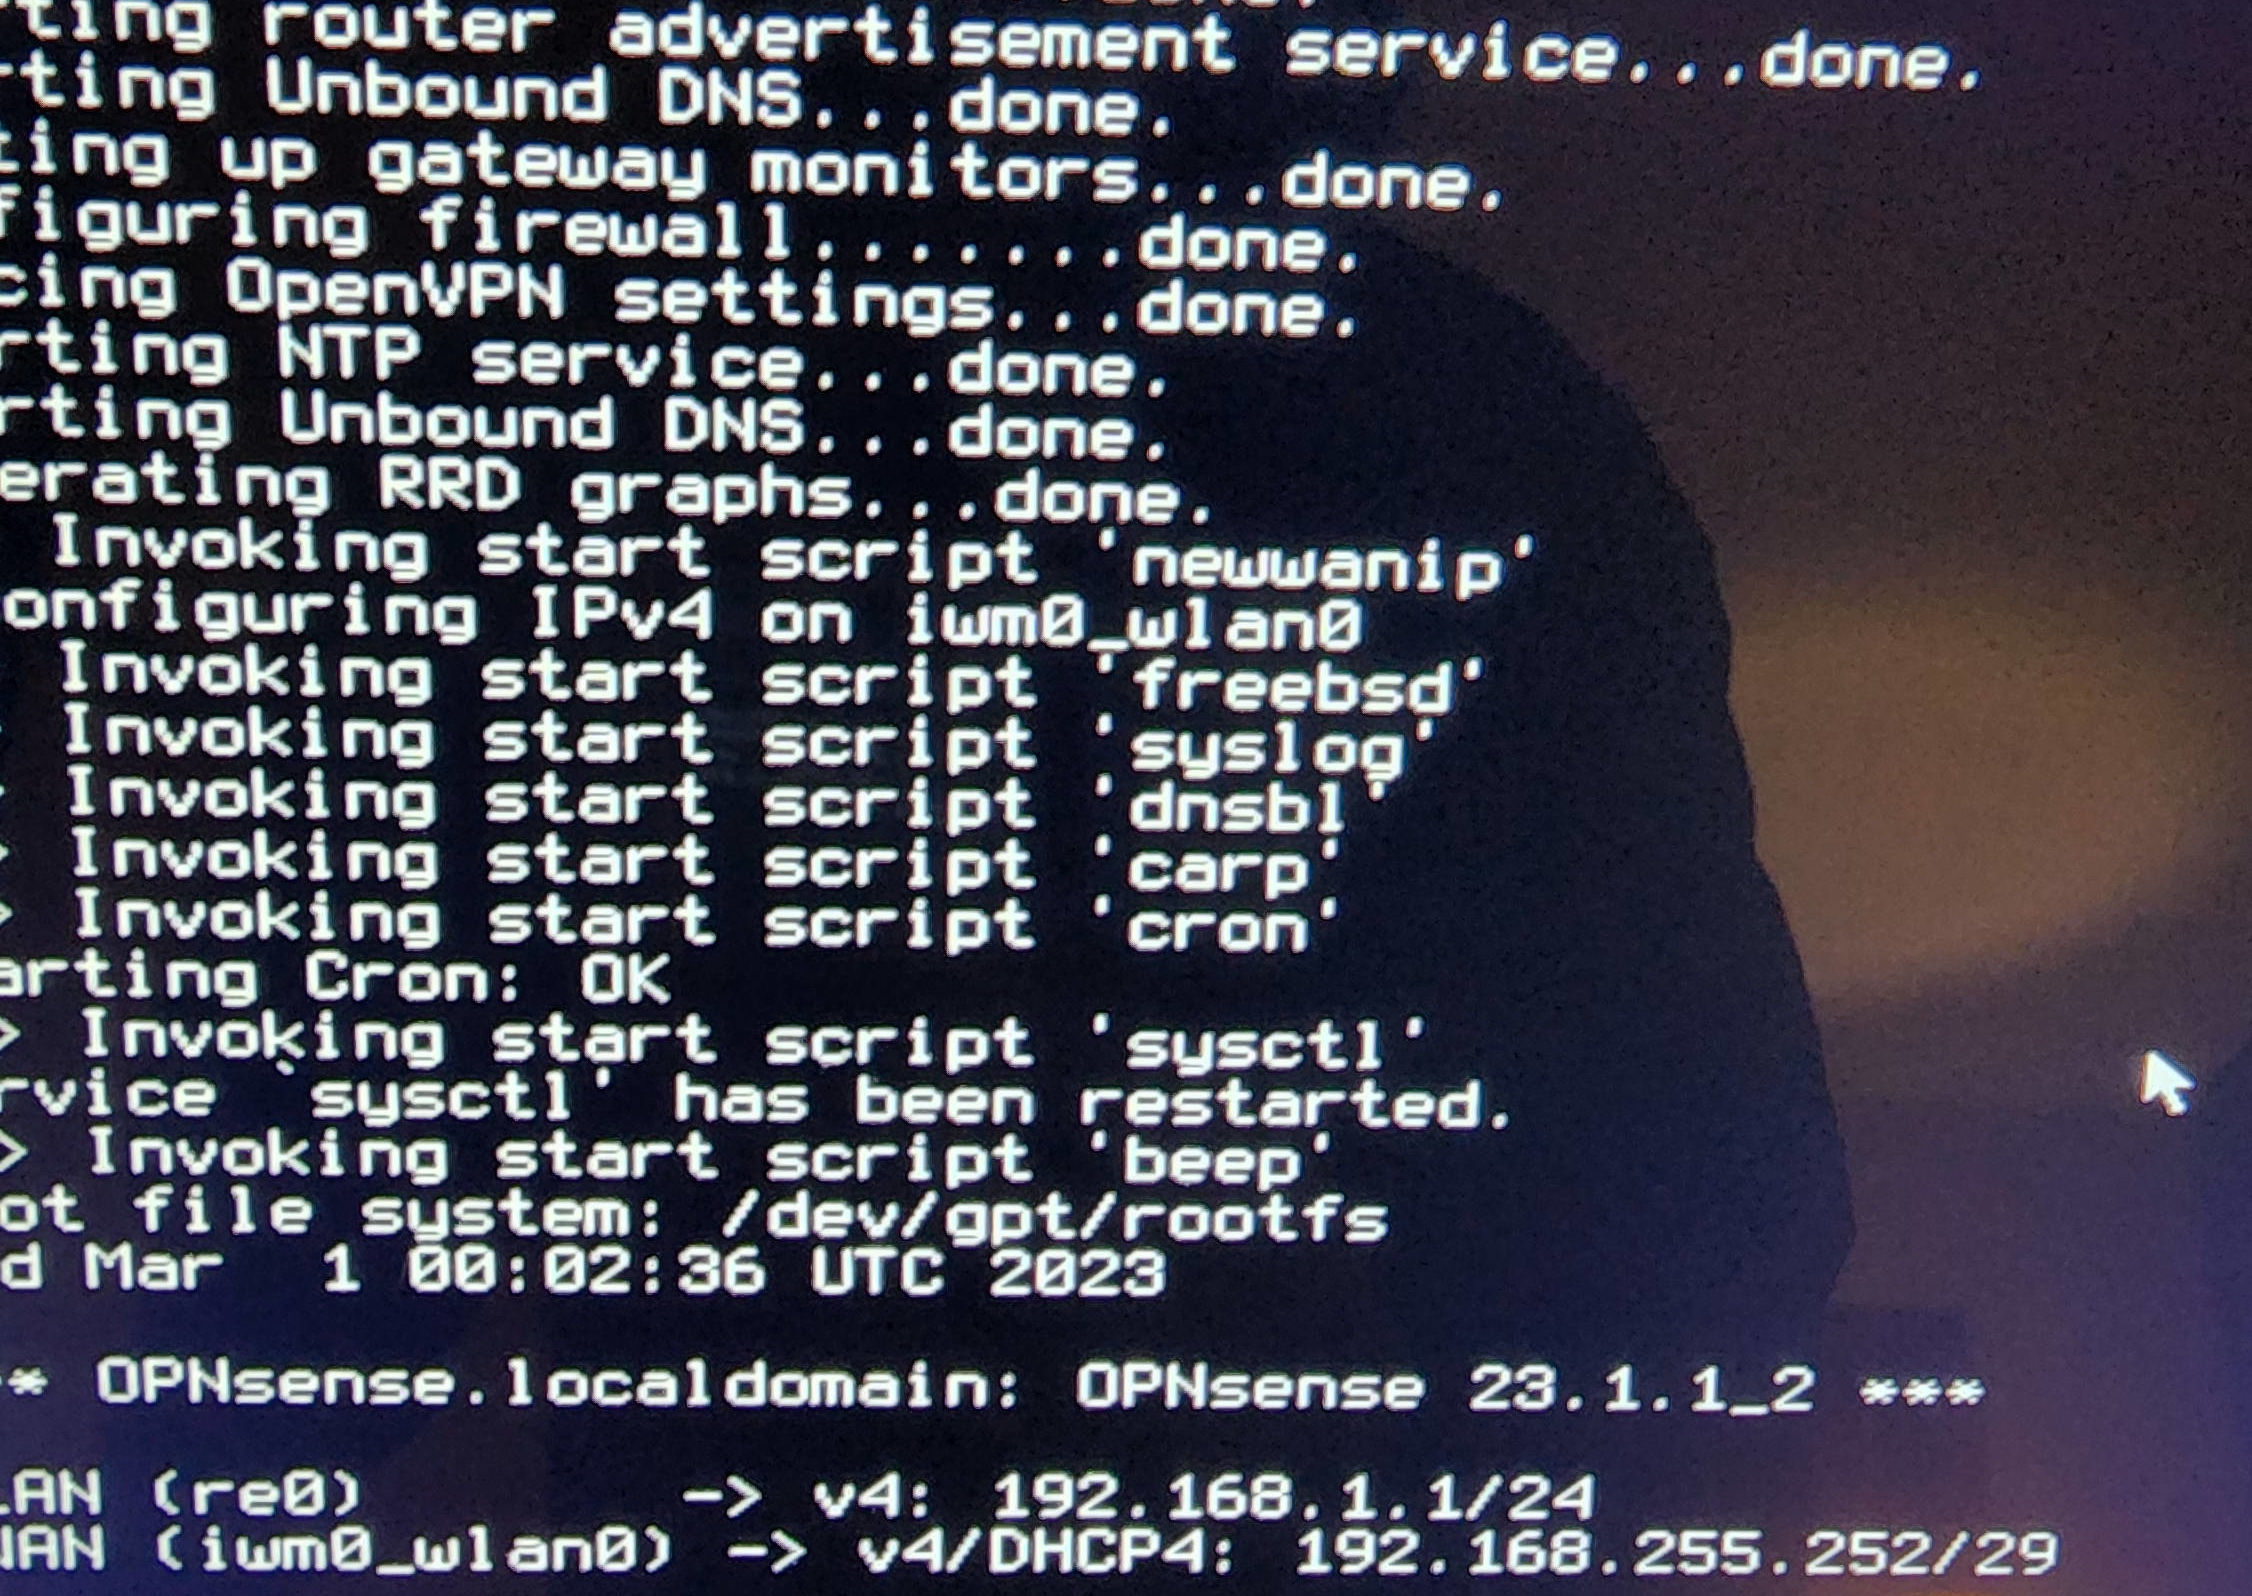
step? Installing OpnSense on it - a FreeBSD based open-source software
that delivers easy-to-use, robust firewall and routing capabilities.
Evolving the Home Lab
After finishing my programming course, I felt the need to deploy a
website from scratch - to bring into existence what was only theoretical
knowledge till then. To replace the laptop-as-router setup and optimize
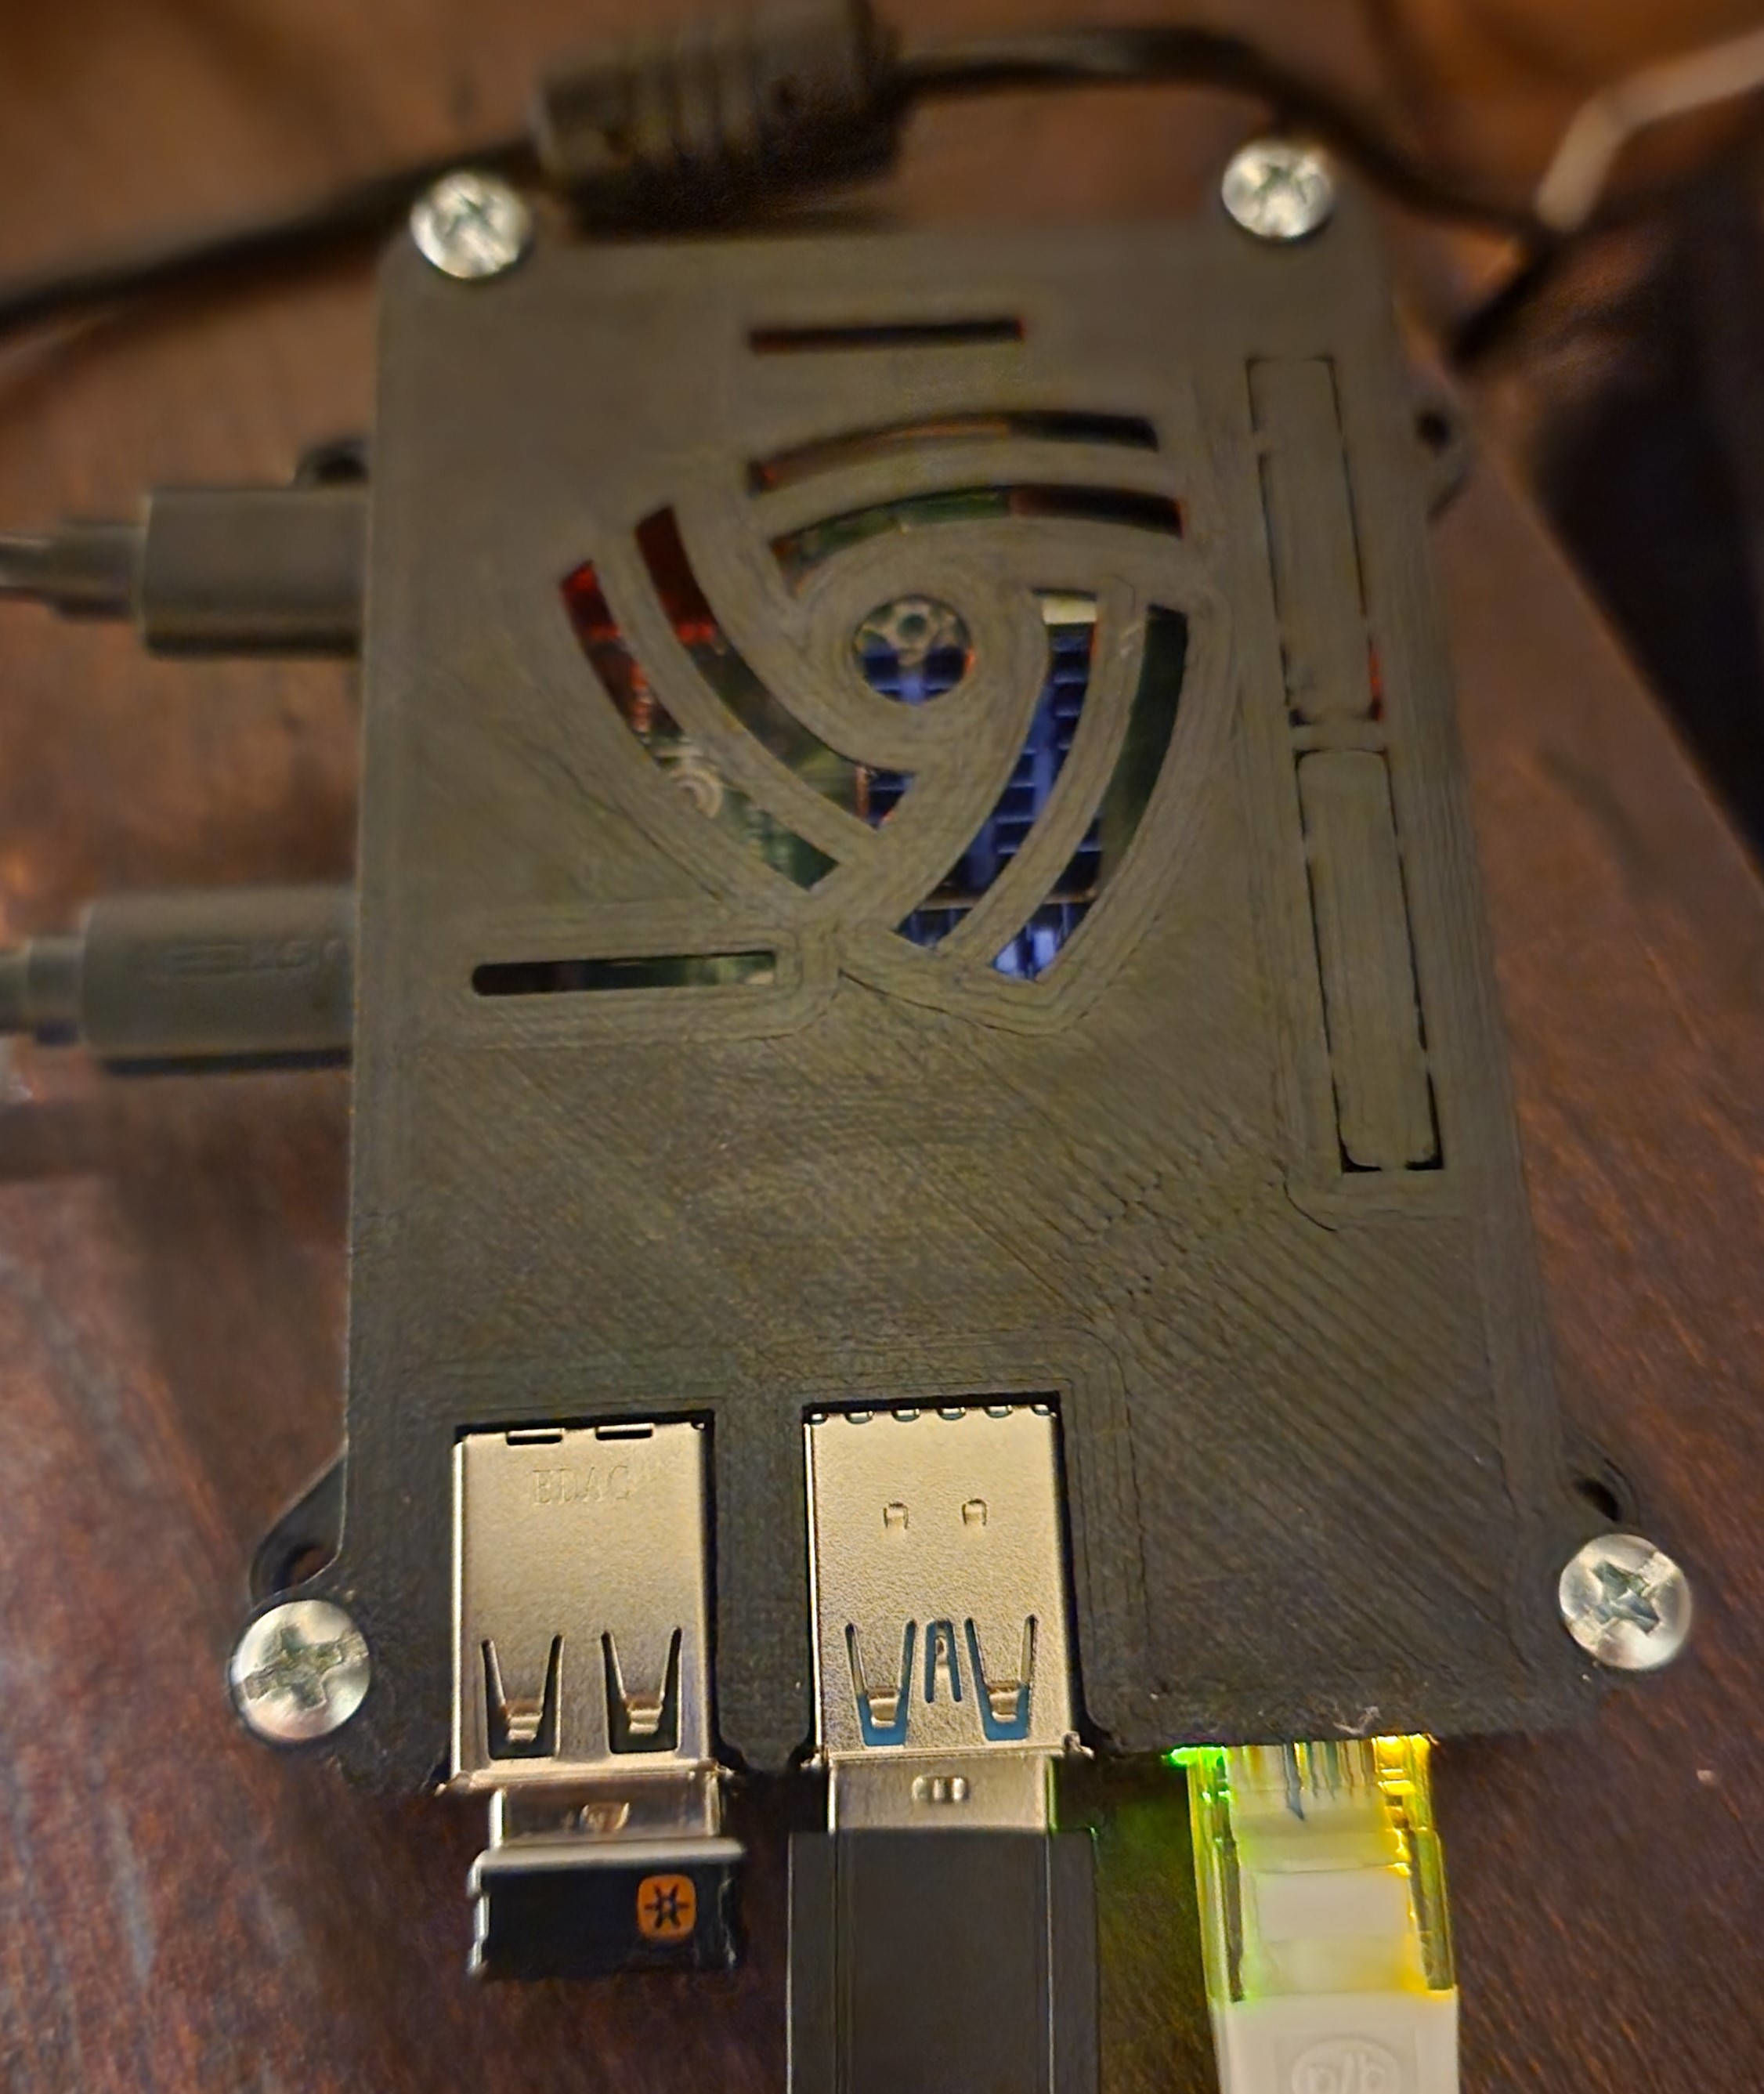
my home network, I purchased a Raspberry Pi 4 B - a small but mighty
device perfect for this task. Installing OpenWRT on it, I transformed
this credit-card-sized computer into a fully capable router that could
handle my network traffic with ease.
The Server-side Story
With the network issue sorted and the Raspberry Pi working as a router,
the old laptop got a new lease of life - this time as a server. I
installed Ubuntu Server on it and set about constructing my website,
brick by digital brick. However, I soon realized that containerization
would simplify both development and maintenance, making the transition
between my development laptop and the server a breeze. Enter Docker and
Portainer: these tools helped me create and manage my containers
efficiently, and the difference was night and day!
Status - 8-14-23
Today, my website,
Dominickp.com, stands proudly
hosted on my home server. But it's not alone.
Accompanying it is a host of robust applications and services that
amplify the capabilities of my home lab:
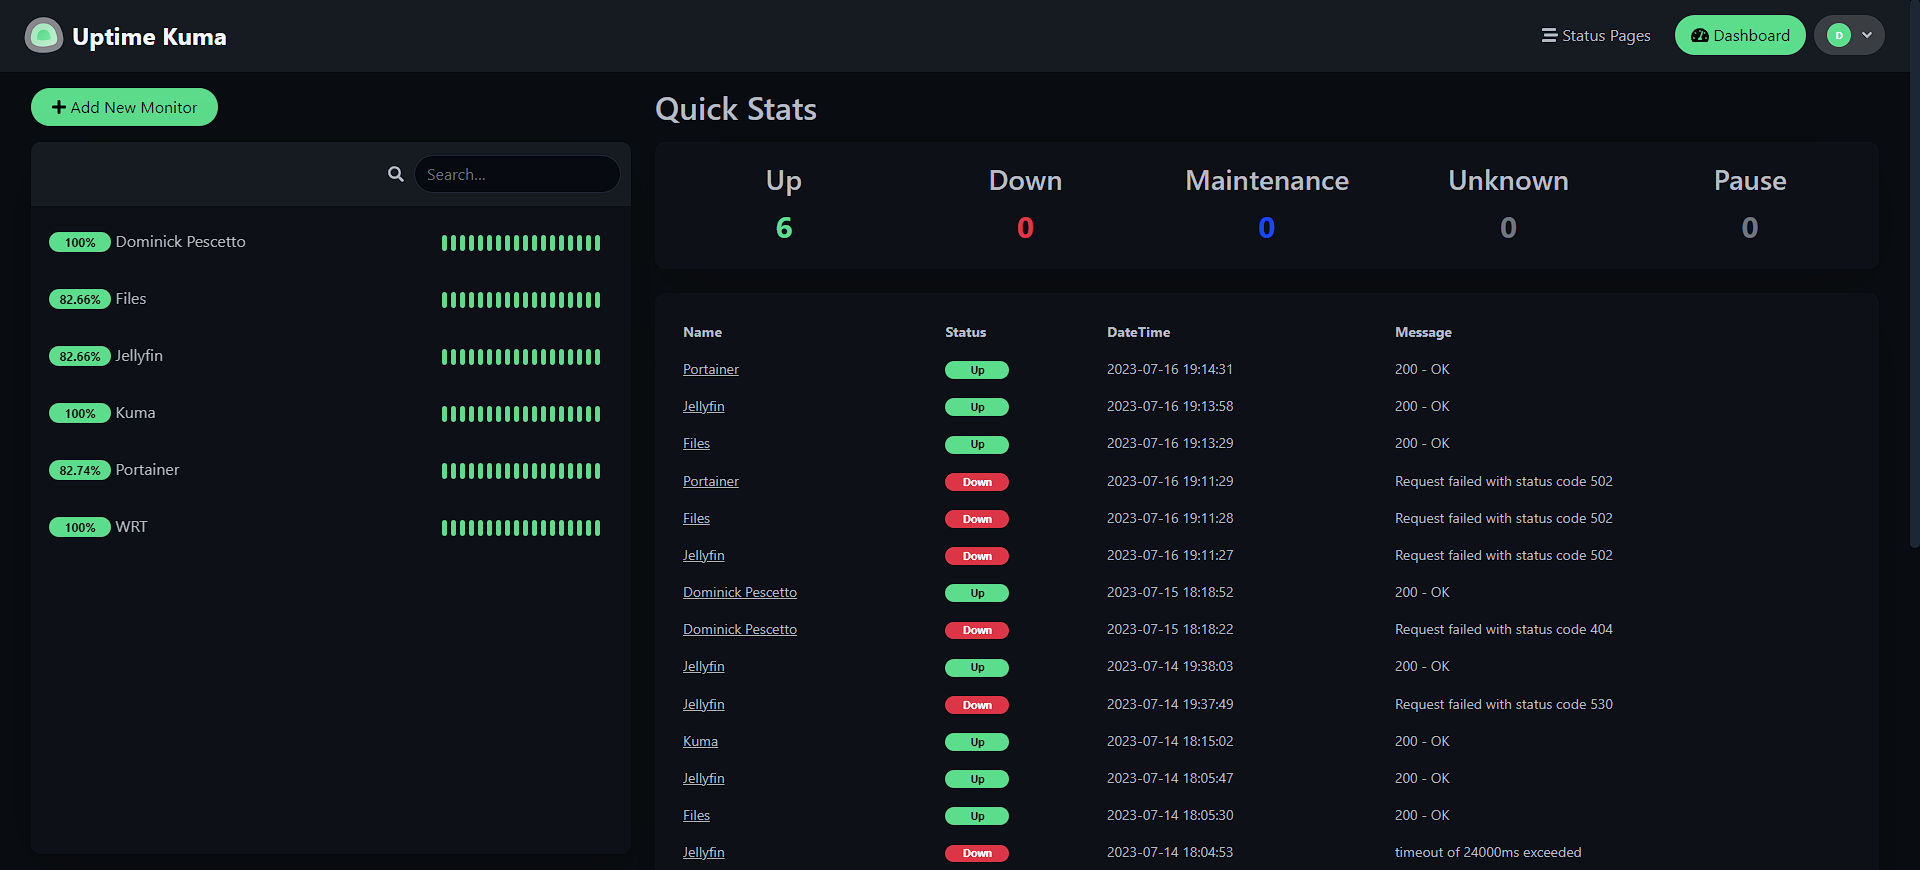
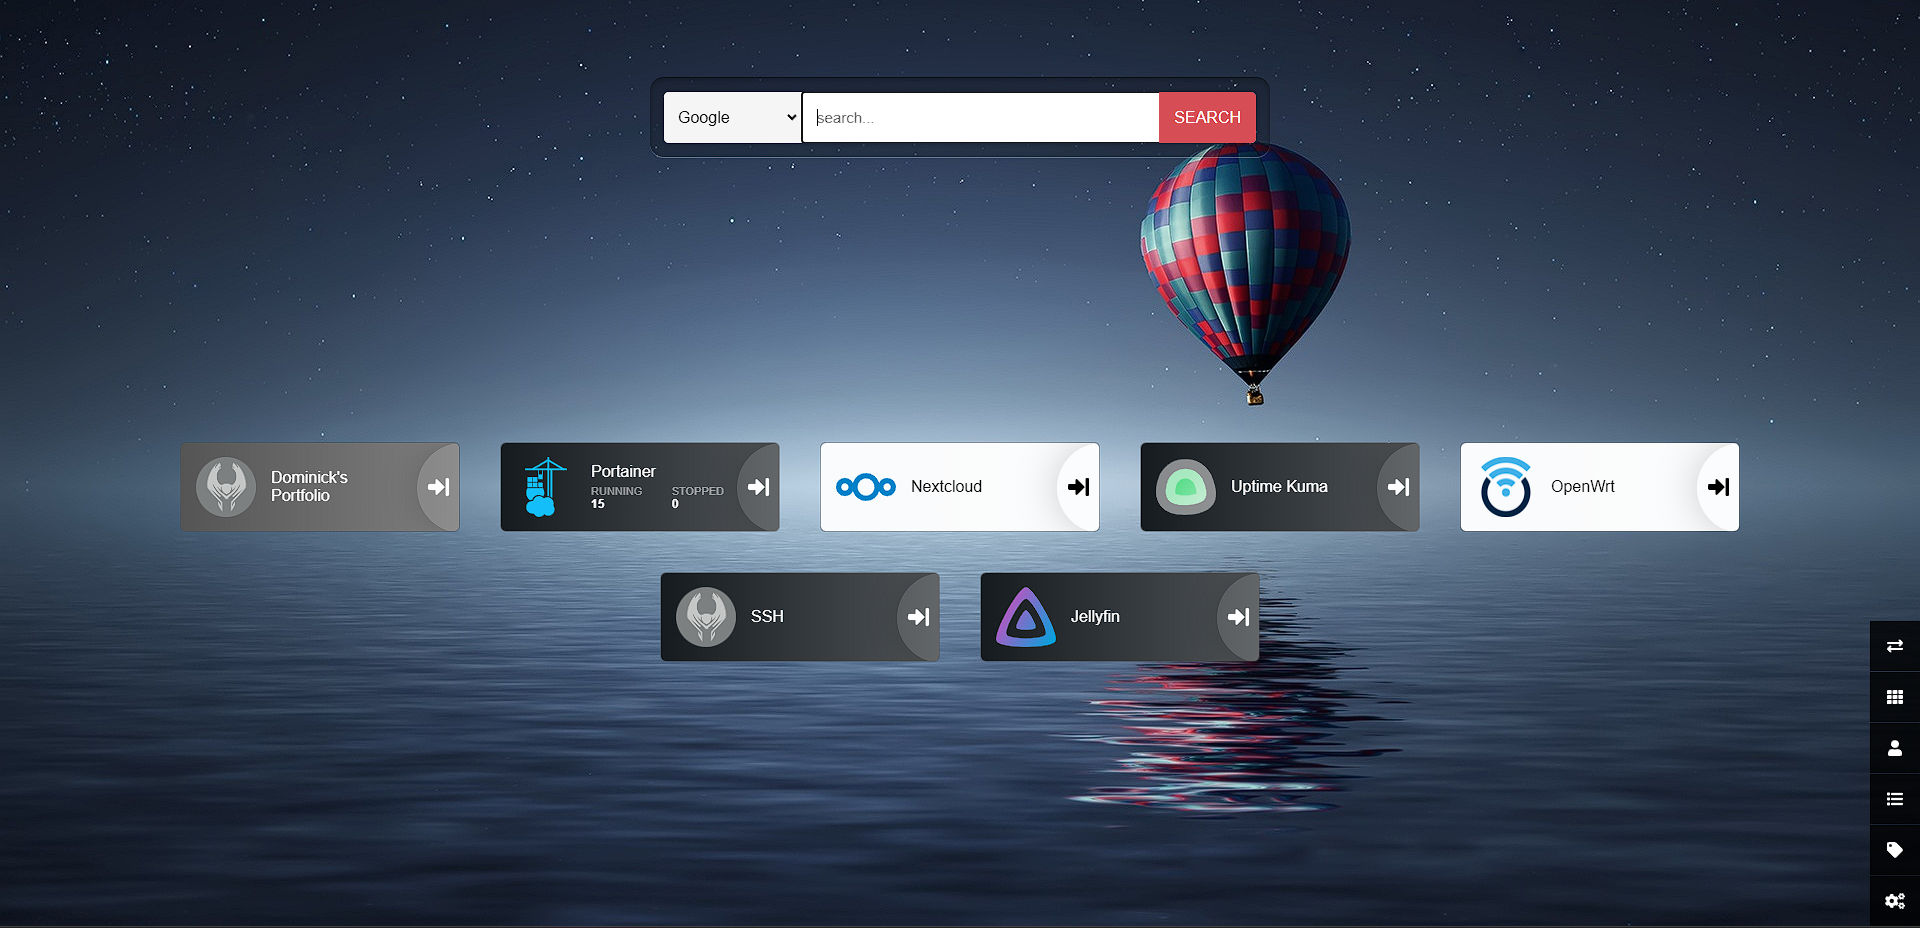
Uptime Kuma: A beautiful, self-hosted monitoring tool
that helps me keep track of my server's health and performance.
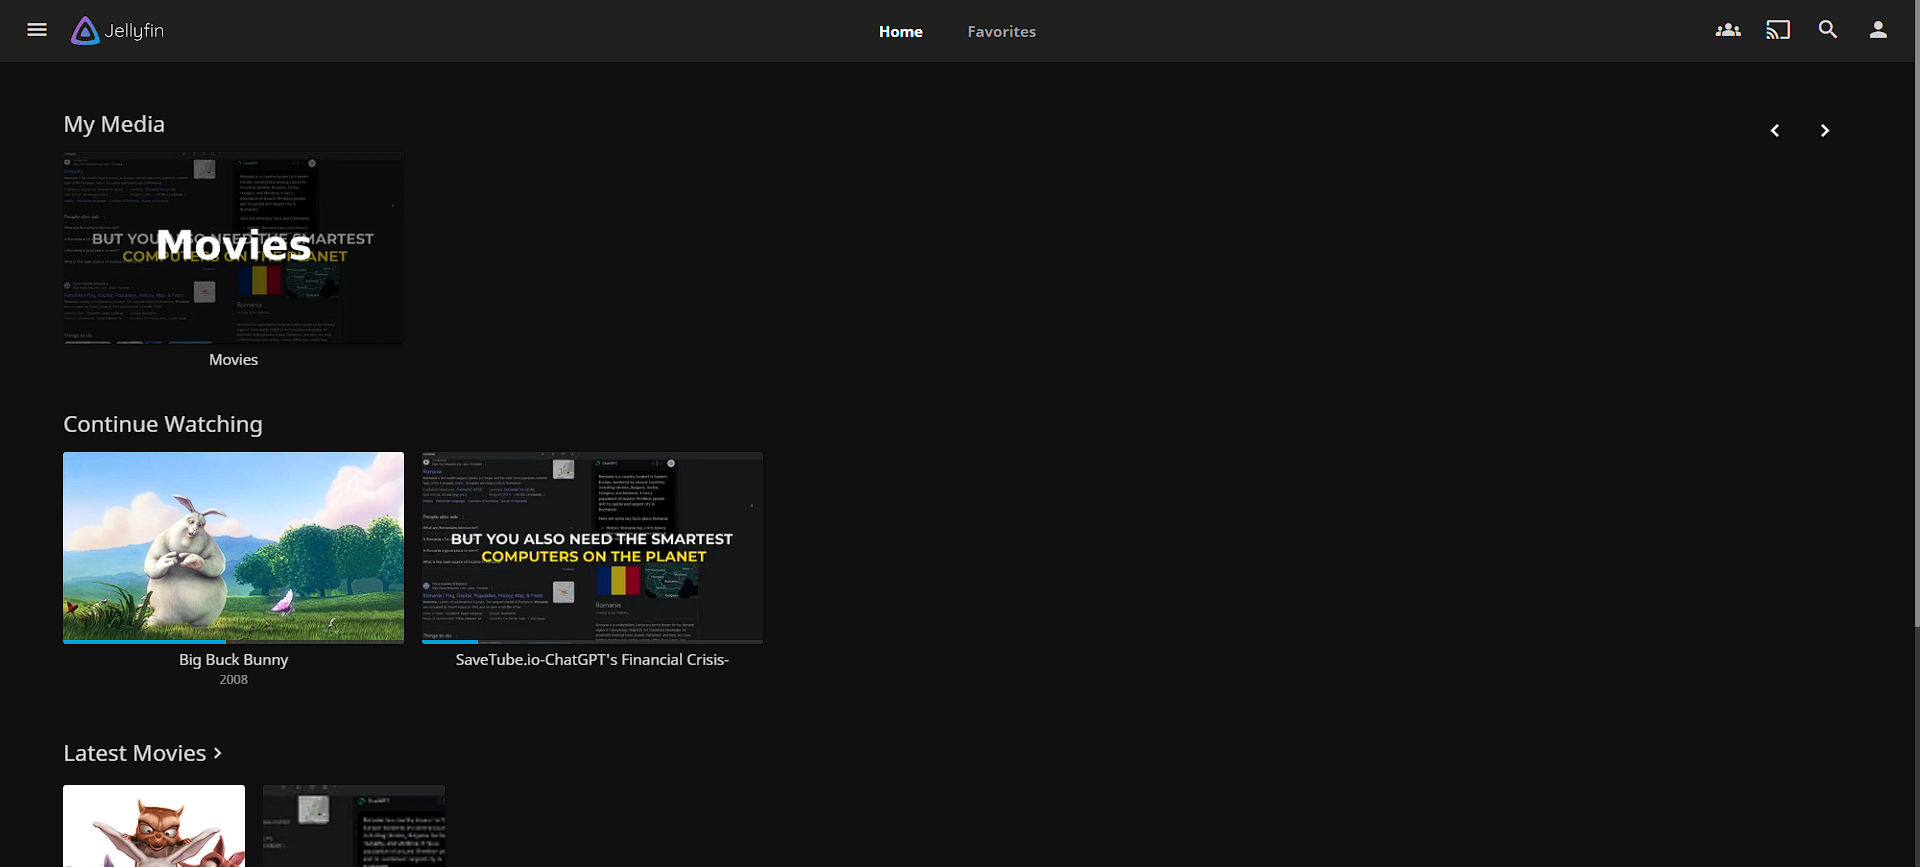
Jellyfin: This open-source media system is my go-to
for organizing and streaming my multimedia content.
Nextcloud: File sharing is a breeze with Nextcloud.
It offers a safe, private, and convenient solution for syncing and
sharing my files.
Heimdall Application Dashboard: This elegant solution
helps me keep all my applications organized under one roof. It acts as
a homepage for all the apps running on my server, making access quick
and straightforward.
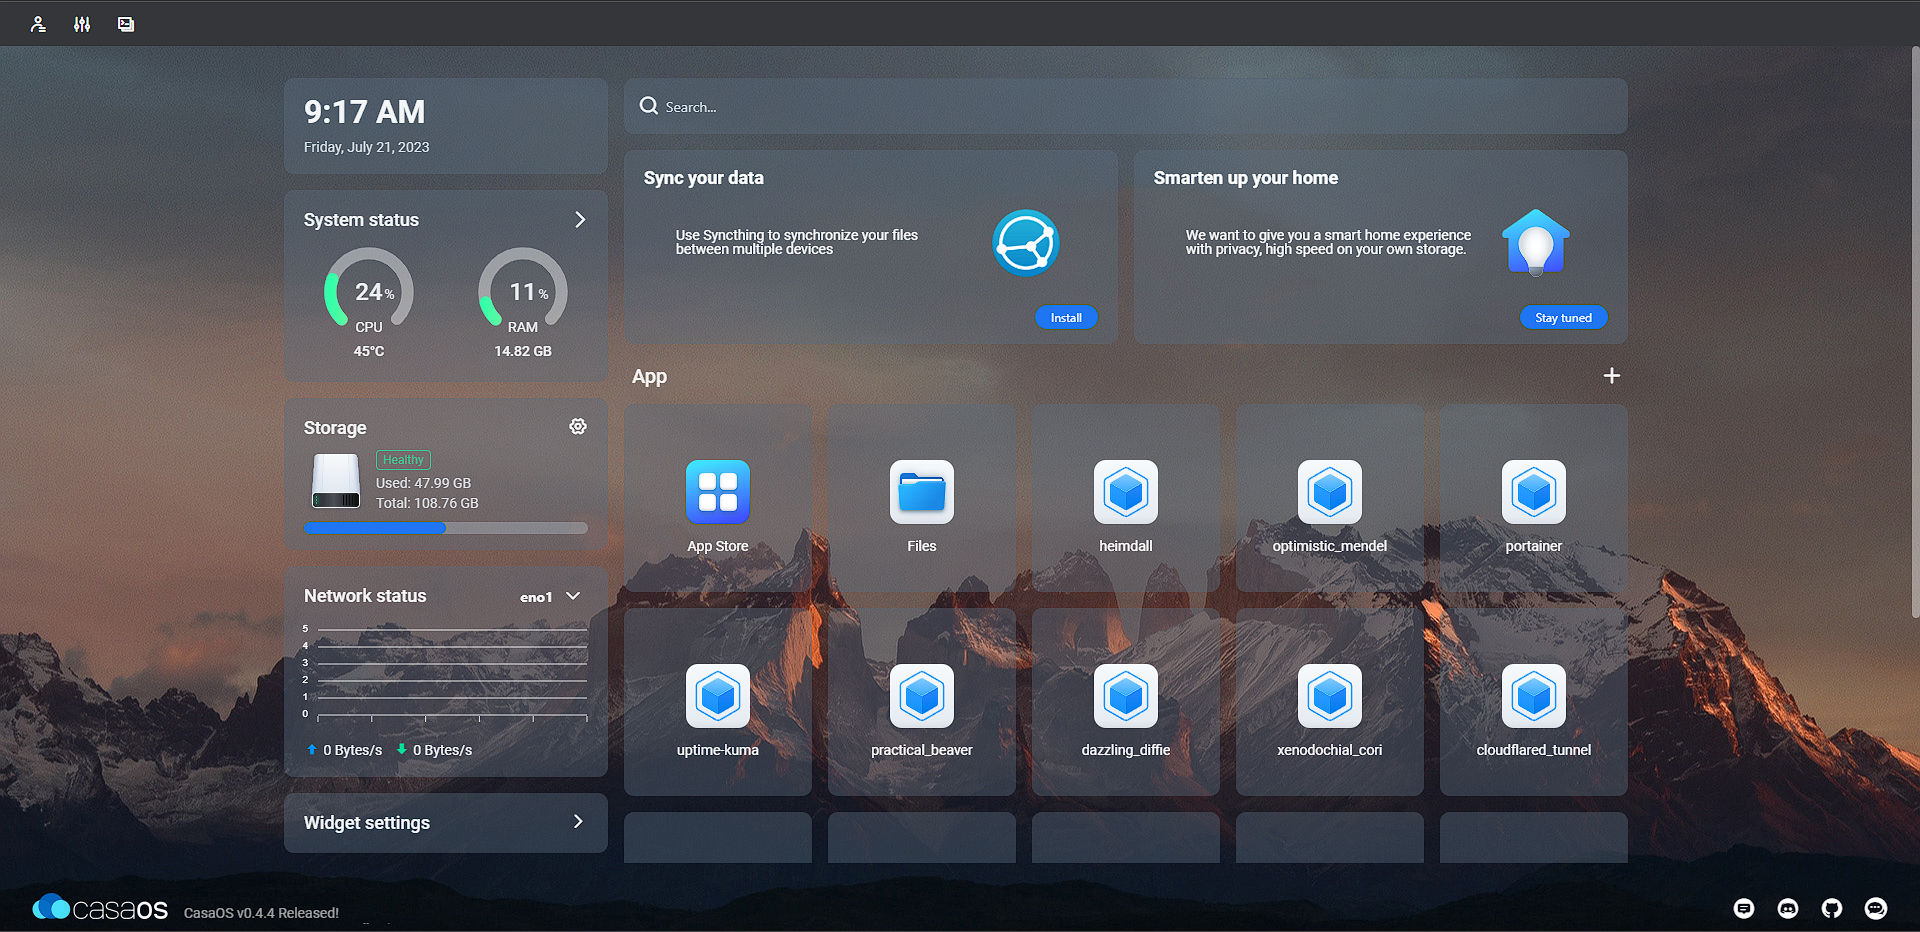
CasaOS: A relatively new player in my lab, CasaOS
simplifies my home cloud and smart home experience. It's an innovative
IoT (Internet of Things) home server OS that provides a unified
platform for smart home management.
Portainer: This powerful open-source tool allows me
to manage my Docker environments with ease, making containerization an
effortless endeavor.
Cloudflare Tunnel
To overcome the challenge of a dynamic IP address issued by my ISP, I've
set up a Cloudflare tunnel. This keeps my external connections running
smoothly, no matter how many times my ISP decides to shuffle the IP
deck.
My Home Lab's New Evolution - 8-21-23
So, I’ve made a few changes since the last update, and I'm excited to
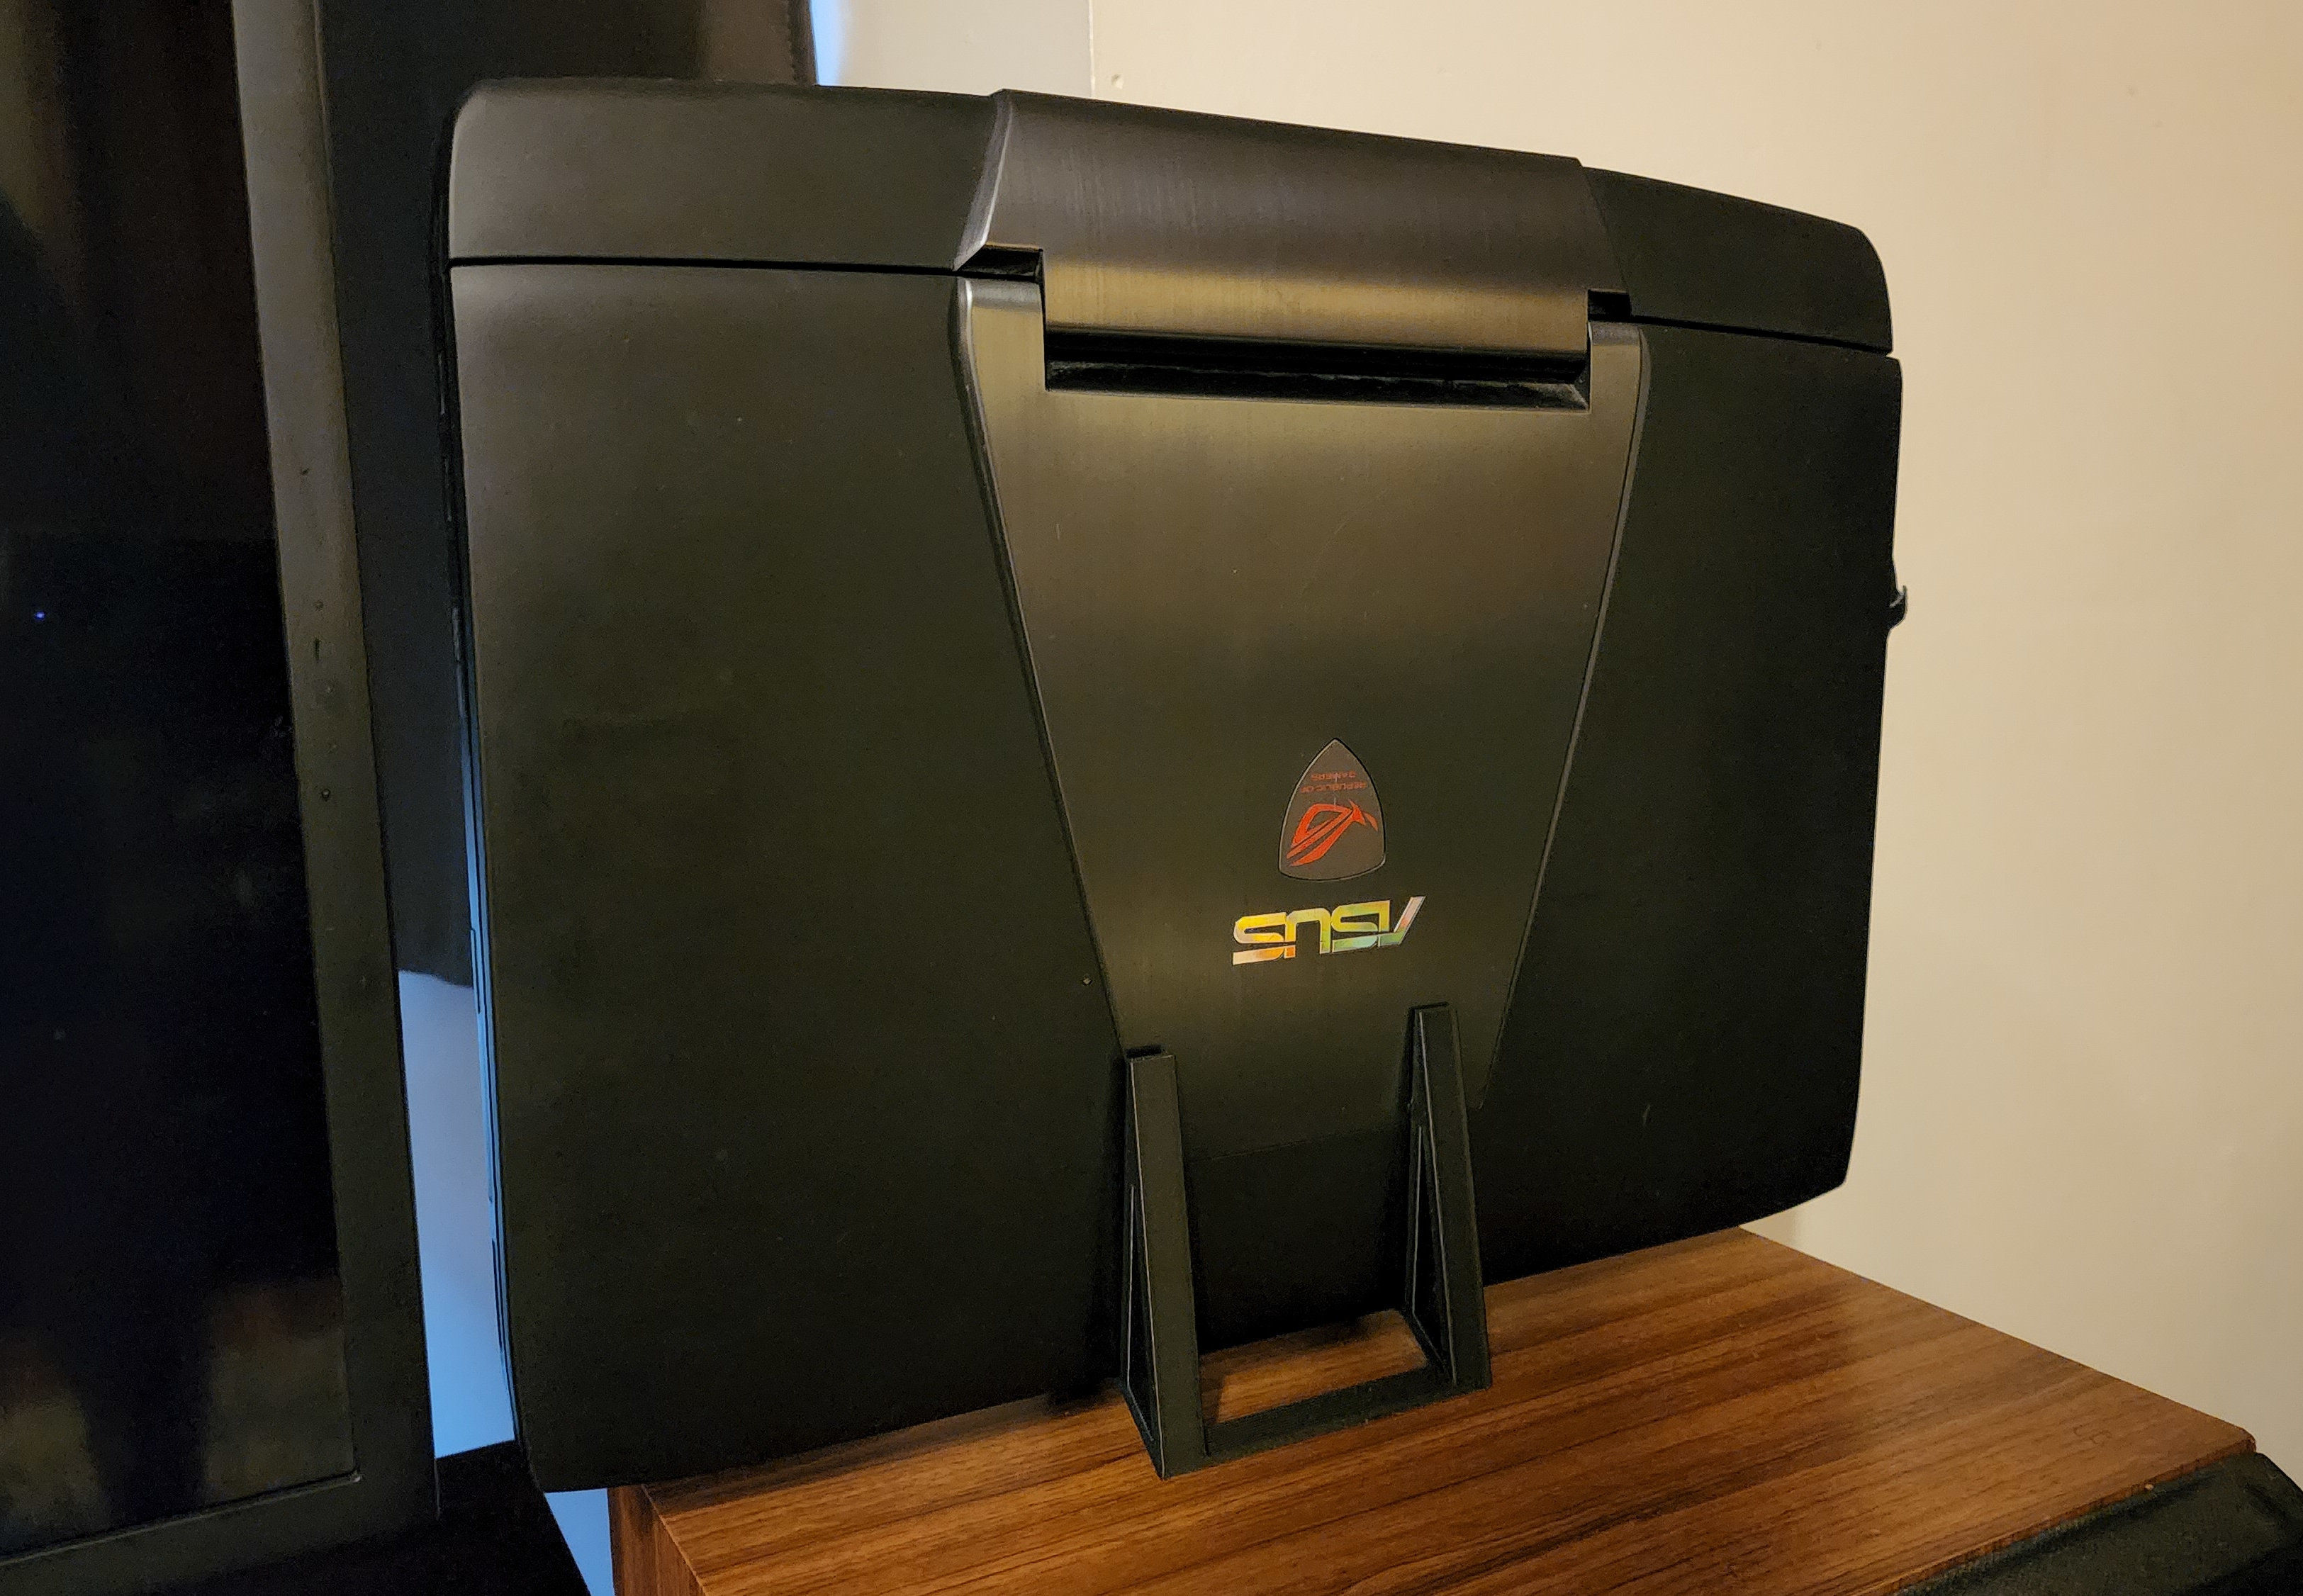
share them with you. Funny enough, I find myself with another laptop with
a broken keyboard - this time a 2015 ASUS ROG gaming laptop with a i7
4720HQ CPU and 24GB ram with a 965M Nvidia graphics card. I wonder if it's
a sign from the universe that I'm meant to breathe new life into discarded
tech. 🤣
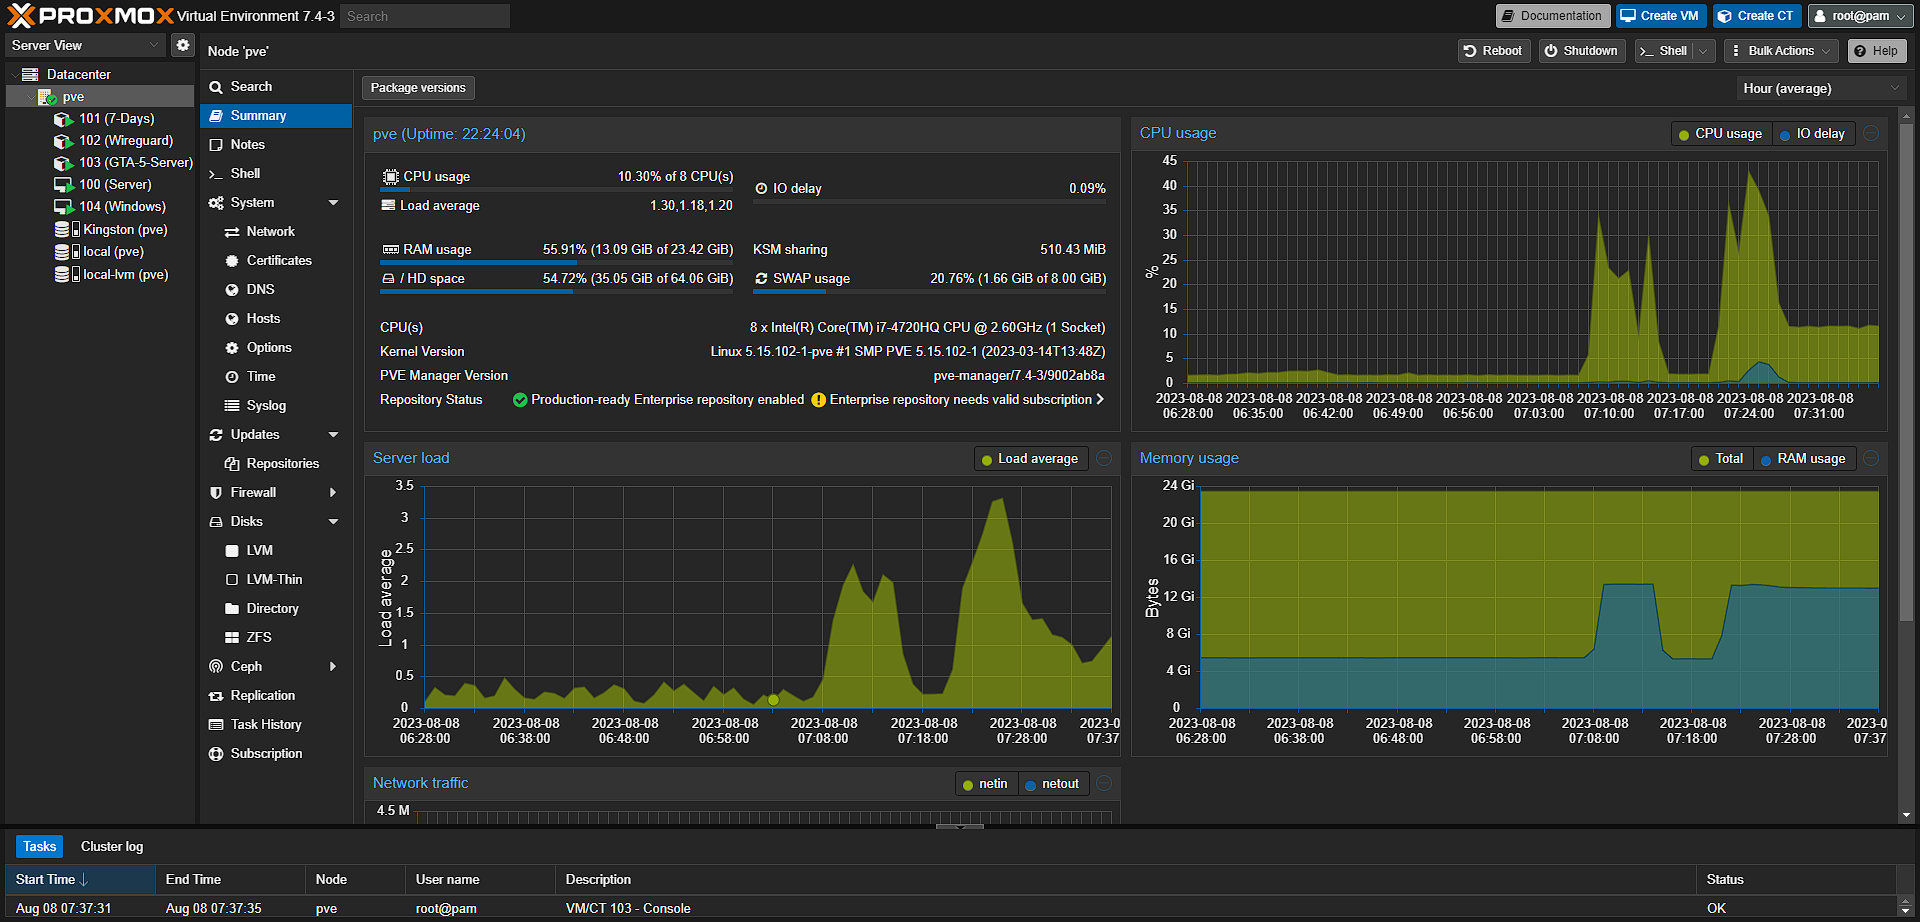
Stepping Up with Proxmox
I finally took the plunge and installed Proxmox on the ASUS ROG. Instead
of transferring over the old Ubuntu Server, I felt the urge to start
fresh, giving me the opportunity to refine my setup. A key improvement
I’ve made is in the networking realm: I’ve established a Docker network
and assigned all my containers static IP addresses. This straightforward
change made a world of difference in streamlining my setup, especially
when interfacing with the Cloudflare tunnel. No more constant IP updates
after every reboot!
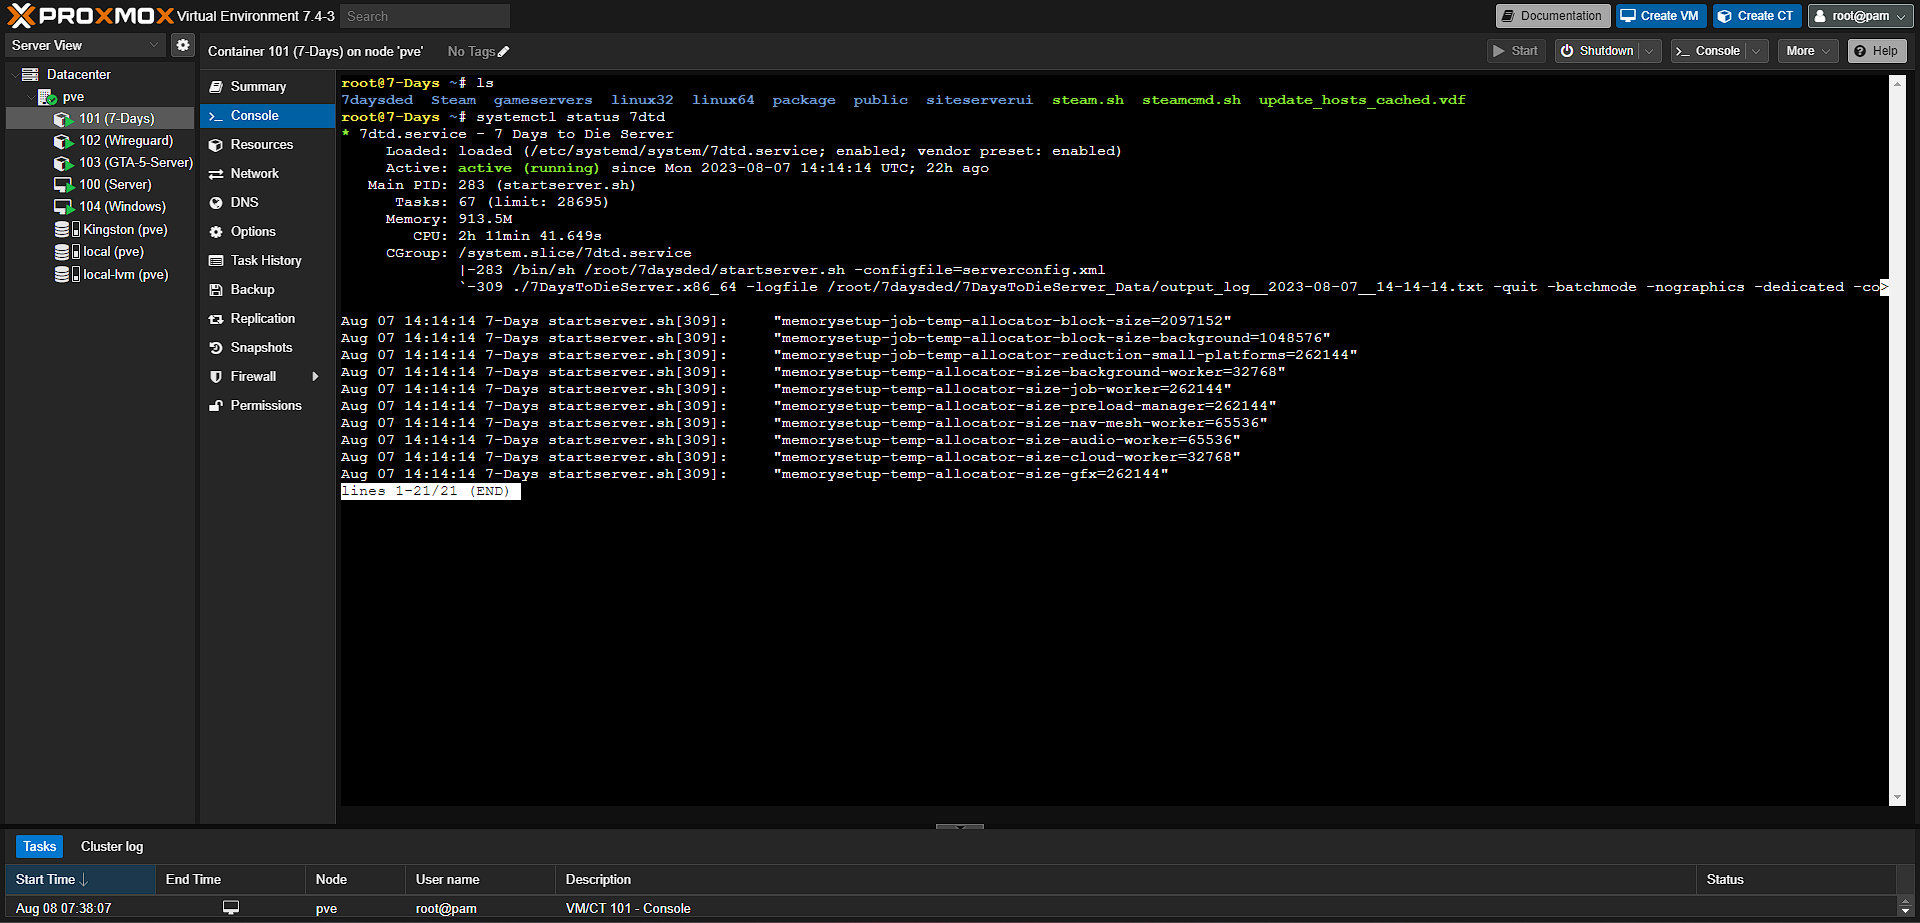
For the Gamers
To add a splash of fun to my home lab, I’ve spun up servers for "7 Days to
Die" and "GTA 5". Now, my friends and I have a dedicated playground for
our gaming sessions. It’s been a blast hosting these, and it’s just
another testament to what you can achieve with a home lab.
Windows in My Home Lab? Yes!
While I’m a huge fan of open-source platforms, I must admit some
applications just feel more at home on Windows. So, I’ve allocated a slice
of my resources to a Windows 10 VM. It’s strictly business (okay, maybe a
little play), serving some applications that either only work on Windows
or just perform better on it.
The Versatility of VS Code Server
VS Code, the popular code editor from Microsoft, isn't just confined to
desktop environments. Using a linuxserver.io docker container I set up a
VS Code Server on my Ubuntu server. This has completely revolutionized the
way I work on projects!
Continuous Integration
After countless hours spent manually updating my website on the server,
I've come to a powerful realization: the importance of CI/CD (Continuous
Integration/Continuous Deployment) cannot be overstated. Driven by this
newfound understanding, I decided to leverage my recent experience with
Ansible to develop a webhook listener specifically for my website's GitHub
repository.
Here's how the workflow unfolds: Whenever I push changes to the main
branch of my GitHub repo, it automatically triggers GitHub to send a
notification to a server hosted on an Ansible LXC container within my
Proxmox setup. This server then executes an Ansible playbook designed to
clone the repo, run npm install, and restart the server—all in a seamless,
automated fashion.
What's truly remarkable is Ansible's intelligent decision-making
capabilities. For instance, it knows not to tamper with the .env file if
it hasn't been modified in the commit. This feature ensures that only the
altered files are updated, resulting in far more efficient deployments
that don't unnecessarily disrupt every component of the website.
The brilliance of incorporating Ansible into my CI workflow has been
nothing short of a revelation. While the initial setup required some
legwork, the scalability is astounding. With a simple copy-paste of the
code, a port number change, and the addition of a new webhook, I can
effortlessly extend this CI pipeline to as many services as I want.
I can't help but imagine the transformative impact this could have on
large corporations. They could automate and streamline the management of
multiple services that are in a state of constant evolution, thereby
saving countless hours of tedious, manual work. This is automation at its
finest, and I'm thrilled to be harnessing its power.
Proxmox and Raspberry Pi Clusters
Are you as captivated by clustering as I am? If so, you'll be excited to
hear about my latest project: setting up additional Proxmox nodes to
achieve high availability (HA). I've had my fair share of experience with
Kubernetes clusters, but they've been confined to virtual machines—until
now.
Taking inspiration from tech wizard Jeff Geerling, I've started exploring
the possibility of building a Raspberry Pi 4B cluster. While these nifty
devices aren't widely available just yet, the situation is improving
steadily. Soon, I hope to create a tangible, real-world cluster that
brings my networking dreams to life!
Now, you might wonder, why not virtualize my router using Proxmox and
repurpose my existing Raspberry Pi 4B router into another Proxmox node? It
sounds like a fantastic idea, but here's the catch: if my internet
connection fails for even a moment, I risk sparking a household mutiny!
So, as you can see, the journey toward clustering and high availability is
full of thrills and challenges. Stick around as I continue to share
updates on these exciting endeavors!
Latest Update - 11-15-2023
Exciting news in my homelab journey: I've set up a Proxmox cluster with two nodes, complemented by a Raspberry Pi 5
acting as a Q device for quorum. However, my trusty red 2014 HP laptop is showing its age, as the latest Proxmox
updates no longer support its USB for external drives and Ethernet adapters. I'm contemplating whether to keep
running the older Proxmox version or repurpose the laptop for another project like TrueNAS or Open Media Vault.
Meanwhile, my Proxmox cluster, hosting 3 Kubernetes nodes, ensures double high availability. This setup has been a
great learning experience, demonstrating how major corporations maintain uninterrupted online services.